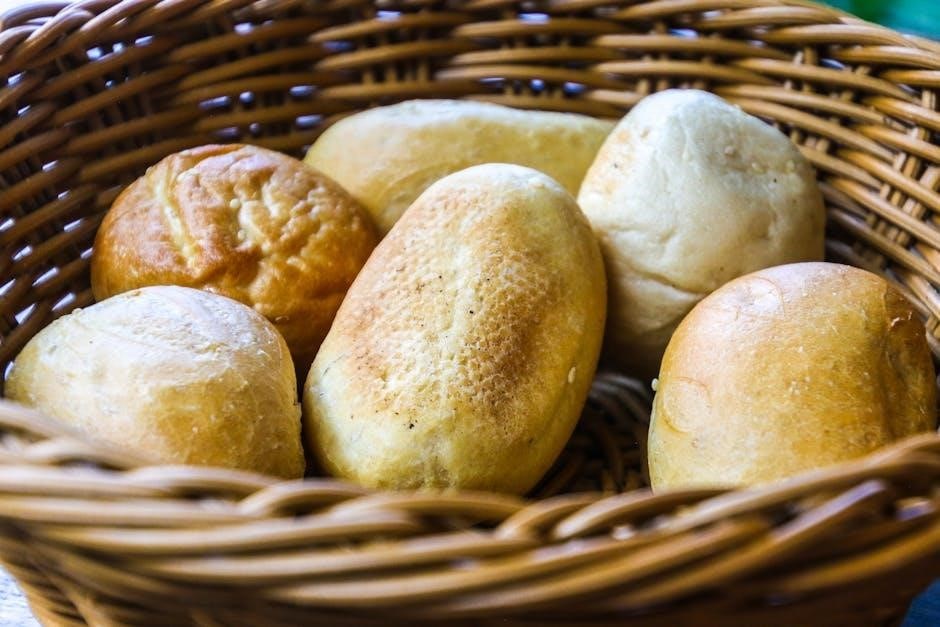
Brown and serve rolls are a convenient and delicious addition to any meal. Perfect for holidays or everyday use, these rolls offer a golden-brown, fluffy texture.
What Are Brown and Serve Rolls?
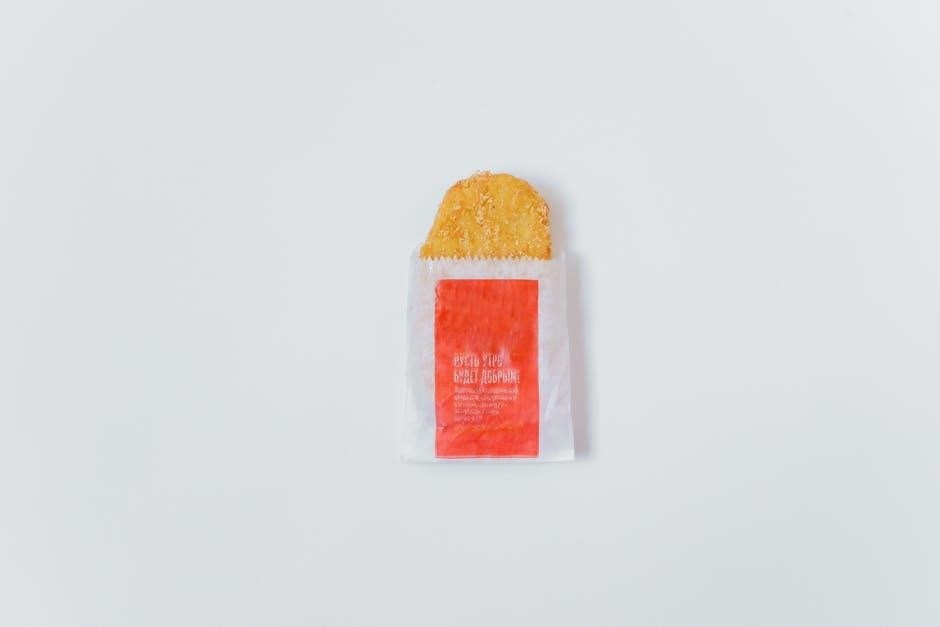
Brown and serve rolls are a convenient and delicious baked good that combines the homemade taste of freshly baked rolls with the ease of store-bought convenience. These rolls are typically pre-made and partially baked, allowing users to finish baking them at home to achieve a golden-brown, fluffy texture. They are a popular choice for holidays, family dinners, or everyday meals, as they save time while offering a fresh-baked experience. Many recipes and store-bought varieties allow for make-ahead preparation, where the rolls can be frozen and baked when needed. Some users even use air fryers for a crispy texture. Their versatility and simplicity make them a favorite for both novice bakers and busy households looking to elevate their meals.
Ingredients and Tools Needed
Essential ingredients include flour, yeast, sugar, salt, milk, butter, and eggs. Specialized tools like a stand mixer, baking dishes, and an oven are required for preparation.
Essential Ingredients for Brown and Serve Rolls
The foundation of brown and serve rolls begins with high-quality ingredients. All-purpose flour provides structure, while active dry yeast ensures a light, airy texture. Granulated sugar feeds the yeast, promoting fermentation. Salt enhances flavor and controls yeast activity. Whole milk or buttermilk adds moisture and tenderness, while unsalted butter contributes richness. Eggs enrich the dough, improving brioche-like qualities. Optional additions like honey or melted butter can enhance sweetness and texture. Using room-temperature ingredients ensures proper yeast activation and dough development. Carefully measuring each component guarantees a balanced flavor and optimal rise. These ingredients combined create a versatile dough that bakes into golden, tender rolls perfect for any occasion.
Specialized Equipment for Baking Rolls
To achieve perfectly baked brown and serve rolls, having the right tools is essential. A stand mixer with a dough hook attachment simplifies mixing and kneading, ensuring a smooth, elastic dough. A large, lightly oiled bowl is necessary for proofing, allowing the dough to rise evenly. Parchment-lined or silicone-coated baking sheets prevent sticking and promote even browning. A digital scale ensures accurate measurements, while a sharp knife or dough scraper helps portion the dough precisely. An instant-read thermometer is crucial for monitoring yeast activation and internal dough temperature. For those opting for an air fryer hack, a preheated air fryer basket lined with parchment paper yields crispy, golden rolls. These tools work together to streamline the process, delivering light, fluffy, and perfectly baked rolls every time.
Preparing the Dough
Mix flour, yeast, sugar, and salt in a bowl. Gradually add warm milk and melted butter, stirring until a dough forms. Knead for 5-7 minutes until smooth. Let rest.
Step-by-Step Dough Preparation
To begin, combine 3 cups of flour, 1 teaspoon of sugar, 1 packet of undissolved yeast, and 1 teaspoon of salt in a large mixer bowl. In a separate container, mix 1 cup of warm milk (120-130°F), 1/4 cup of water, and 1/4 cup of melted butter. Gradually pour the wet ingredients into the dry ingredients and stir until a dough forms.
Turn the dough onto a floured surface and knead for 5-7 minutes, until smooth and elastic. Place the dough in a greased bowl, cover it with plastic wrap, and let it rest in a warm, draft-free area for about 1 hour, or until doubled in size. This step is crucial for the dough to rise properly before shaping.
After resting, punch down the dough to release air bubbles. Now, the dough is ready to be shaped into rolls, ensuring a light and fluffy texture when baked. This preparation method ensures the rolls will be tender and delicious.
Proofing the Dough for Optimal Rise
After kneading, place the dough in a lightly oiled bowl, turning it to coat evenly. Cover with plastic wrap or a damp cloth. Let it rise in a warm, draft-free area, such as the oven (turned off), for about 1 hour, or until doubled in size.
Avoid over-proofing, as this can lead to a dense texture. Once risen, gently punch down the dough to release air bubbles. This step ensures even distribution of yeast activity, promoting a light and airy texture in the rolls.
Proofing is a critical step that enhances the dough’s structure and flavor, making the rolls fluffy and tender when baked. Proper proofing guarantees a golden-brown finish and a soft interior.
Shaping the Rolls
Divide the dough into equal portions, shape into balls, and place in a greased pan. For Parker House rolls, flatten slightly with a rolling pin.
Forming Perfect Roll Shapes
Once the dough is prepared, divide it into equal-sized pieces for uniform rolls. Shape each piece into a smooth ball by gently folding the dough under itself. For Parker House rolls, flatten the dough into a square or rectangle using a rolling pin. Ensure the thickness is consistent to achieve even baking. Place the shaped rolls into a greased baking dish, leaving space between them for expansion. Lightly brush the tops with melted butter or an egg wash for a golden finish. Proper shaping ensures the rolls bake evenly and maintains their appealing texture and appearance.
Tips for Uniform Roll Sizes
Achieving uniform roll sizes ensures even baking and a professional appearance. To start, divide the dough into equal portions using a kitchen scale or by cutting it into similar-sized pieces. For consistency, use a small measuring cup or an ice cream scoop to portion the dough. Once divided, roll each piece into a tight ball by applying gentle pressure with your hands. Place the rolls in a greased muffin tin or on a parchment-lined baking sheet, leaving about 1 inch of space between them for even expansion. To maintain uniformity, avoid overcrowding the baking dish. By following these steps, you’ll ensure your rolls bake evenly and have a consistent texture and appearance. This method guarantees perfect, golden-brown rolls every time.
Baking the Rolls
Preheat your oven to 350°F (175°C). Place the rolls on a parchment-lined baking sheet, leaving space for expansion. Bake for 15-20 minutes, or until golden brown.
Oven Instructions for Golden Brown Rolls
Preheat your oven to 350°F (175°C). Place the rolls on a lightly greased or parchment-lined baking sheet, leaving about 1 inch of space between each roll. Bake for 15-20 minutes, or until the tops are golden brown. For an extra golden finish, brush the rolls with an egg wash (beaten egg mixed with a little water) before baking. If desired, brush with melted butter or honey during the last 2 minutes of baking for added flavor and shine. Allow the rolls to cool slightly on the baking sheet before serving. This method ensures a crispy exterior and a soft, fluffy interior, perfect for any meal.
Air Fryer Hack for Crispy Rolls
For a crispy exterior and a fluffy interior, try using an air fryer to bake your rolls. Preheat the air fryer to 325°F (165°C). Place the rolls in a single layer, leaving space for even cooking. Cook for 10-12 minutes, flipping halfway through for an even golden brown finish. To enhance crispiness, lightly brush the rolls with melted butter or an egg wash (beaten egg mixed with water) before cooking. This method reduces cooking time compared to traditional ovens while achieving a deliciously crispy texture. The air fryer’s precise temperature control ensures consistent results, making it a great alternative for achieving perfectly baked rolls with minimal effort.
Freezing and Reheating
Brown and serve rolls can be frozen after initial baking for up to 3 months. Reheat them directly from frozen in the oven for a fresh taste.
Make-Ahead Instructions for Fresh Rolls
To prepare ahead, bake the rolls for 5-7 minutes until lightly set. Let them cool, then freeze. When needed, bake frozen rolls at 350°F for 10-12 minutes, or until golden. This method ensures fresh, warm rolls with minimal effort. Perfect for holidays or busy days, it allows you to serve homemade rolls without last-minute stress. Simply thaw and bake as needed for a delicious, fresh taste every time. This technique is ideal for maintaining flavor and texture while saving time during meal preparation.
Reheating Rolls for Maximum Flavor
To maintain the softness and flavor of brown and serve rolls, reheat them properly. Preheat your oven to 350°F (175°C) and wrap the rolls in foil to retain moisture. Bake for 5-7 minutes until warmed through. For a crisper texture, skip the foil and bake for 8-10 minutes, or until lightly golden. Alternatively, use an air fryer at 300°F (150°C) for 3-5 minutes for a quick refresh. If using a microwave, wrap rolls in a damp paper towel and heat for 10-15 seconds per roll. Brushing with melted butter after reheating enhances flavor and texture. These methods ensure your rolls stay fresh and delicious, whether reheating from room temperature or frozen. Proper reheating brings out the best in brown and serve rolls, making them a perfect addition to any meal.
Leave a Reply